How do I setup my Canon Pixma ip110?
Steps to set up Canon IP110 printer
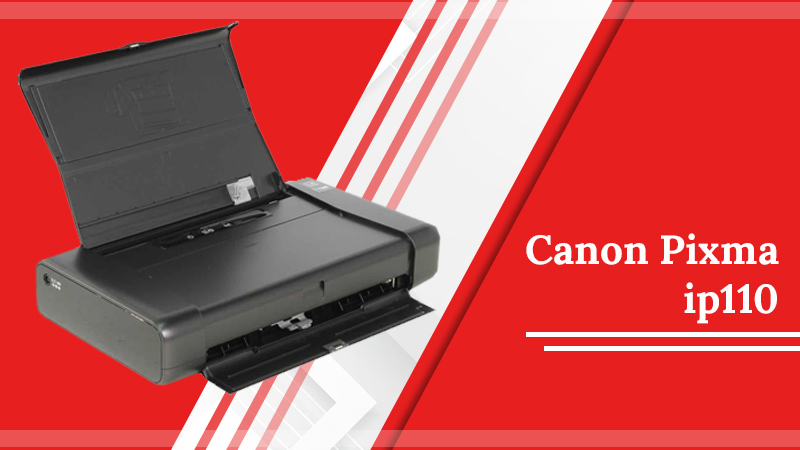
Canon is a Japanese multinational company headquartered in Tokyo, Japan, with business interests in printers, scanner, optical, imaging, lenses, medical equipment, and semiconductor manufacturing equipment. Of them all, the Canon is known worldwide for wireless office mobile printers such as Canon pixma IP110 setup. It is a small-size lightweight and high-performance portable printer which is best suitable for professionals and students. Once you install the Canon Pixma IP110 setup, you’re all set to use your printer to get picture-perfect photos and professional-looking documents.
If you have just bought a new Canon IP110 printer or trying to reinstall it on your Windows or Mac, this document will help you set up your device with some quick steps. Here is what it covers.
- Printer initialization beginning with the unboxing.
- Canon Pixma IP110 driver download and installation.
- Connecting Canon IP110 to Windows.
- Connecting Canon IP110 to Mac.
In case you have already unboxed your printer and completed the initial set up, then proceed to step two. Let’s get started with the basics.
Step 1. Canon IP110 printer initialization and unboxing
- Canon IP110 printer comes with a lot of safety precautions, and the first step is to remove all the tapes and packaging material from your printer.
- Ensure to keep your printer on a clean surface near the WiFi router and away from any other signaled device.
- While unboxing, remove the power cord, ink cartridges, installation kit, and other parts from the box.
- Connect the power cord to your printer and the other end to the wall socket.
- Install ink cartridges and clean papers in your printer.
- Now your Canon printer might print a test page to verify the correct installation.
- Once you are done with the initial setup, download & install the Canon printer drivers from the Canon support page.
Step 2. Download and install Canon IP110 Driver
The driver installation is a crucial part of the printer set up. It works as a translator between your printer & computer and helps your canon printer understand your computer’s language. In two different ways, you can download the drivers – the first way is using an installation disk, and another way is downloading the driver package directly from the Canon support website.
Through installation disk
- Take out the CD that came with your printer and insert it into your PC. Now run the setup.
- If it doesn’t AutoRun, then insert the CD again, go to my computer, or this PC. Now double-click MSETUP4.EXE and keep following the instructions.
Through Canon printer support website
- If you do not have an installation disk, then you can visit the Canon support website.
- Once you land on the Canon Pixma IP110 setup installation webpage, your operating system will be selected by default, and you can alter it if needed.
- Now click the download button, and you will receive the printer installer file on your PC.
- Go to the download folder on your computer, double click the Canon printer download file and follow the instructions to install the printer on your computer.
Step 3. Connect Canon IP110 to Windows
- While installing the Canon IP110 printer driver choose wireless LAN as a collection method and then click over the next button.
- Now choose the access point connection and again click next.
- Make sure that you have turned on your printer, and the white light is on; once you check this out, click next.
- If you’re trying to set up your printer for the first time, then click “Setting printer could not be found on the list” and click next.
- Click next in all the further screens until you reach the setup procedure selection page.
- Here click Cable less setup, hold the WiFi button on your printer, and release when light number 2 flashes two times.
- Now again, keep hitting the next button and select your location.
- Agree to the license agreement, Canon products, and keep following all instructions to connect your Canon IP110 to a Windows computer.
- In the end, you can print a test page and once the installation completes, click exit.
Step 4. Connect Canon IP110 to Mac
- After downloading the drivers either from the CD or from the Canon support website, the initial set up the screen appears; click next.
- Now you might be prompted to enter the admin name and password and then click the install helper.
- Click next > wireless LAN connection > next > Access point connection > next.
- Now ensure that you have turned on your printer and click next.
- If this is the first time you’re trying to connect your printer, then make sure that (Setting printer could not be found on the list) is selected, click next.
- Click open on the Canon set up guide, click next, click cable less setup, hold the WiFi button on your printer until the power lamp flashes two times, and then release, click next.
- When the white lamp is still, and the WiFi lamp is flashing quickly, it shows that the printer is establishing a connection with the network; click next.
- Click allow > next > enter the location > click next on the further screens and select yes on the license agreement.
- Now keep following the on-screen instructions, print a test page, and click exit when the installation completes.
Need printer support? Contact the Canon helpline number
Whether you have a Mac or Windows, you can use these steps to set up Canon IP110 at your workplace. With quick Canon IP110 driver download and installation on your computer, start using the printer to get high-quality images and perfect office presentations. If you need any help, then contact Canon printer support for immediate assistance.
